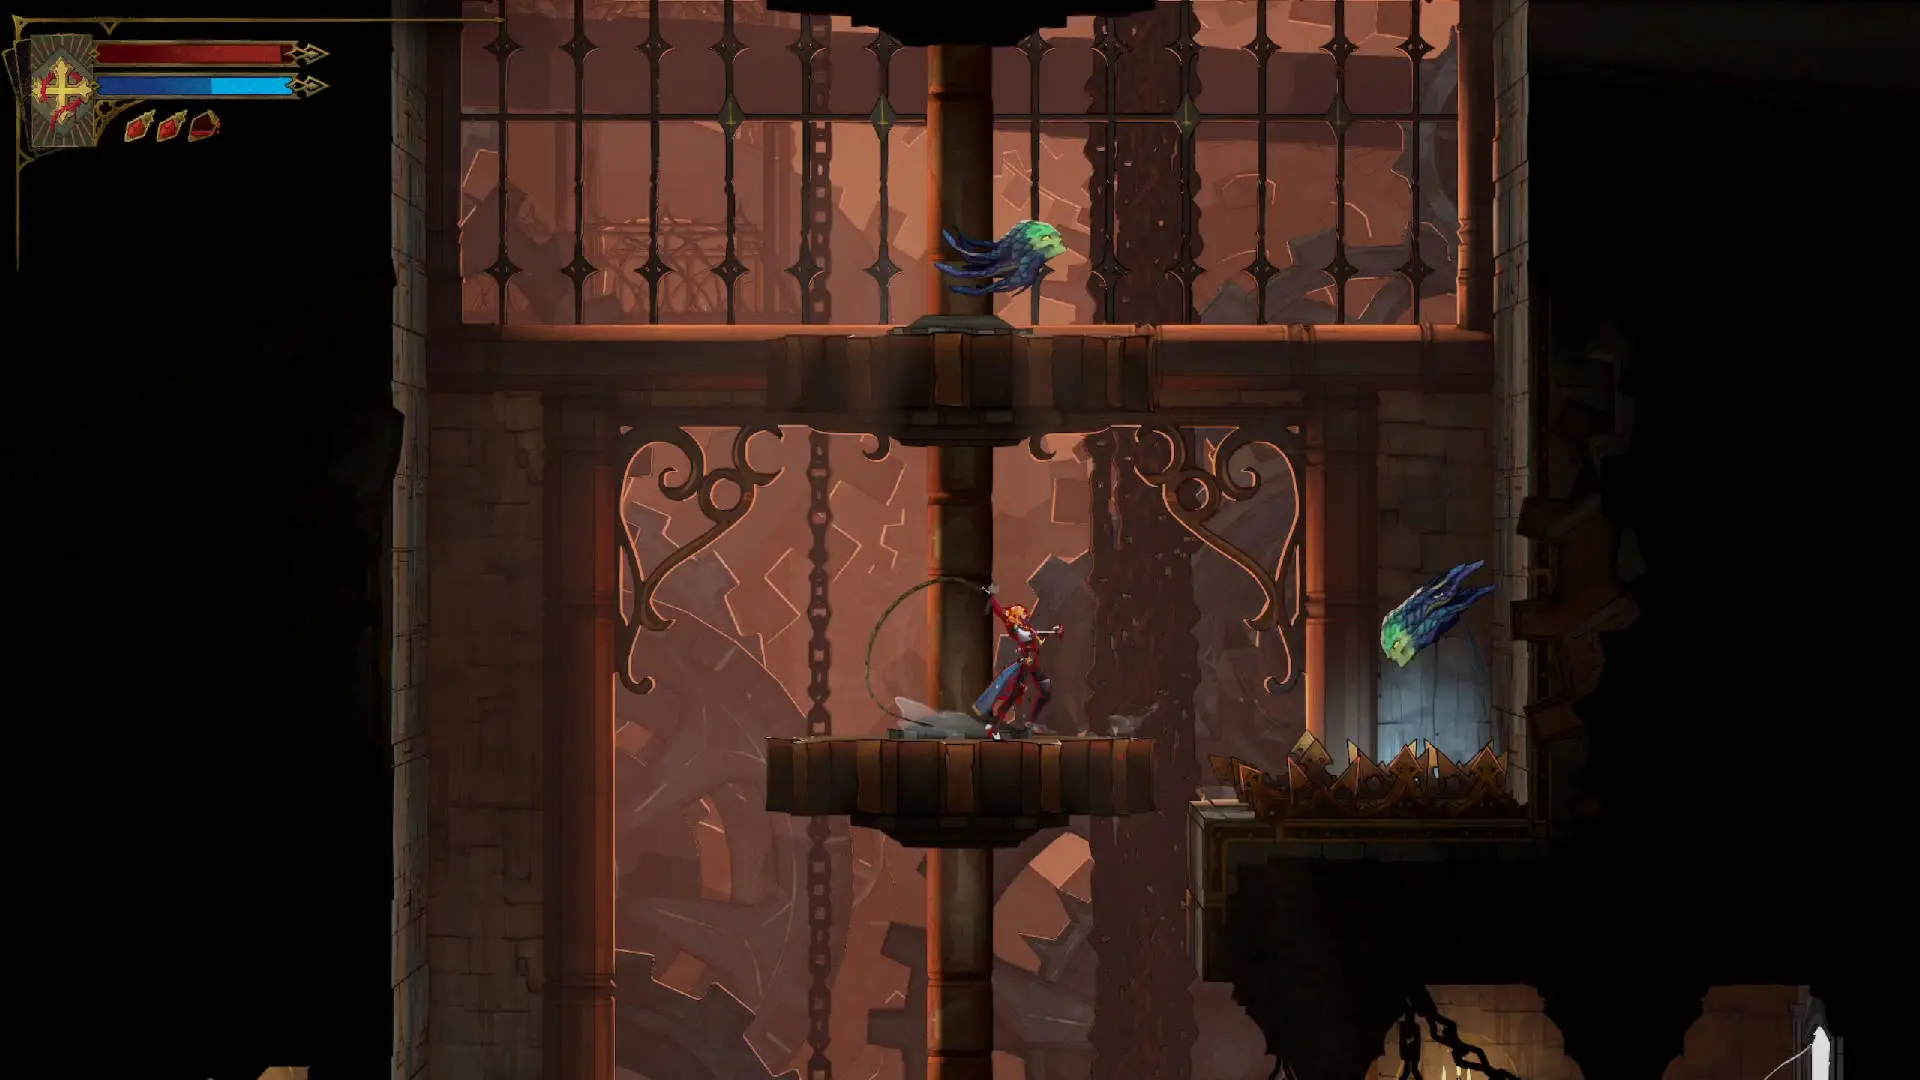
The Clock Tower stands as one of the most iconic, punishing vertical sections in Castlevania: Belmont’s Curse. Longtime fans know Castlevania clock towers are never just a simple staircase. Packed with spinning gear platforms, spike traps, airborne enemies and hidden switches, this ascent will test your platforming precision, resource management, and patience. If you keep falling or getting ambushed mid-climb, this walkthrough breaks down the entire route, hazards, required abilities, and tips to safely reach the tower’s summit.
Before You Enter: Required Abilities & Prep
Before starting your climb, confirm you have these essential skills unlocked, or you will hit dead ends:
- Double Jump: The most critical ability. Many gear jumps and high ledges cannot be reached without it.
- Whip Ledge Grab: Lets you latch onto distant ledges when your jump falls short.
- Arcane Whip: Clears minor debris and activates distant clock switches.
Prep tips:
- Stock up on healing potions. Falling damage and enemy hits stack fast during long platforming sequences.
- Equip your best anti-air sub-weapon, like throwing axes or holy daggers, to deal with flying gargoyles.
- Save your game at the Clock Tower entrance. One misstep can send you all the way back to the start.
The Ascent: Step-by-Step Clock Tower Route
The tower is built as a continuous vertical climb, separated into three main segments: Gear Ascent, Switch Chamber, and the Upper Spire.
1. Gear Ascent (Starting Section)
You begin on the stone bridge entrance. The first challenge is a series of rotating brass clock gears. Gears spin clockwise and counter-clockwise, and their teeth are your only footholds.
- Watch the rotation pattern before jumping. Never rush onto a fast-spinning gear.
- Time your jump to land on the flat tooth surface. Avoid the gear edges, they will knock you off.
- Flying gargoyles patrol between gears. Take them out from a safe platform before moving forward; they love to knock you into spikes.
- Red spike walls line the bottom of this section. A fall here means instant heavy damage or death.
After crossing four large gear platforms, you will reach a stone doorway leading into the Switch Chamber.
2. Switch Chamber – Unlock The Upper Spire
This room holds the red clock switches that power the next set of moving platforms. The switches control the gear alignment for the upper tower. There are three switches to activate in the correct order:
- Left switch: Rotates the lower gear bank.
- Middle switch: Raises a temporary bridge platform.
- Right switch: Unlocks the sealed gate to the Upper Spire.
Important note: Some switches reset after a short time. Once you hit the final switch, immediately dash through the gate before it closes again. Also watch for skeleton clockwork warriors that spawn after each switch pull. They swing heavy maces and can interrupt your jumps. Clear them first if you are low on health.
3. Upper Spire & Final Climb
The Upper Spire is the hardest part of the climb. Platforms shrink, gears spin faster, and traps become more frequent.
- Look out for retracting metal plates. They vanish after a few seconds, so keep your double jump ready.
- Watch for falling debris from the ceiling. A shadow appears on the ground shortly before rocks crash down.
- Midway up the spire is a hidden breakable wall. Break it open for a life upgrade and gold pouch (optional secret).
Once you clear the final gear jump, you will arrive at the tower’s top platform, the entrance to Talos’ boss arena.
Enemies To Watch For During The Climb
- Clockwork Skeletons: Mace-wielding melee foes; block or dodge their slow but powerful swings.
- Gargoyles: Flying enemies that dive at you mid-jump, the #1 cause of accidental falls.
- Wraiths: Semi-transparent ghosts that phase through walls; use holy damage to stun them quickly.
Common Mistakes Players Make
- Rushing gear jumps: Always observe rotation for 1–2 cycles before jumping.
- Forgetting double-jump timing: Save your second jump for corrections if you overshoot or undershoot a platform.
- Ignoring flying enemies: Trying to jump while gargoyles are active almost always ends in a spike pit.
- Not saving between segments: Long climb with no auto-save. Manually save whenever you reach a safe chamber.
What Awaits At The Top
Completing the climb opens the door to Talos, the Builder, the mechanical colossus boss of the Clock Tower. Defeating Talos rewards the Smash ability, which lets you shatter golden cracked blocks found across Dracula’s Castle and unlock more secret areas and loot.
Final Thoughts
The Clock Tower is classic Castlevania design at its finest. It is less about raw combat skill and more about calm observation and precise platforming. Do not get frustrated after repeated falls. Take it slow, learn each gear’s rhythm, and pick off airborne threats before making big jumps.
Once you master this climb, you are one major step closer to uncovering all of Belmont’s Curse’s secrets and facing Dracula.
Have you found any hidden shortcuts or secret items in the Clock Tower? Drop a comment and share your discoveries!